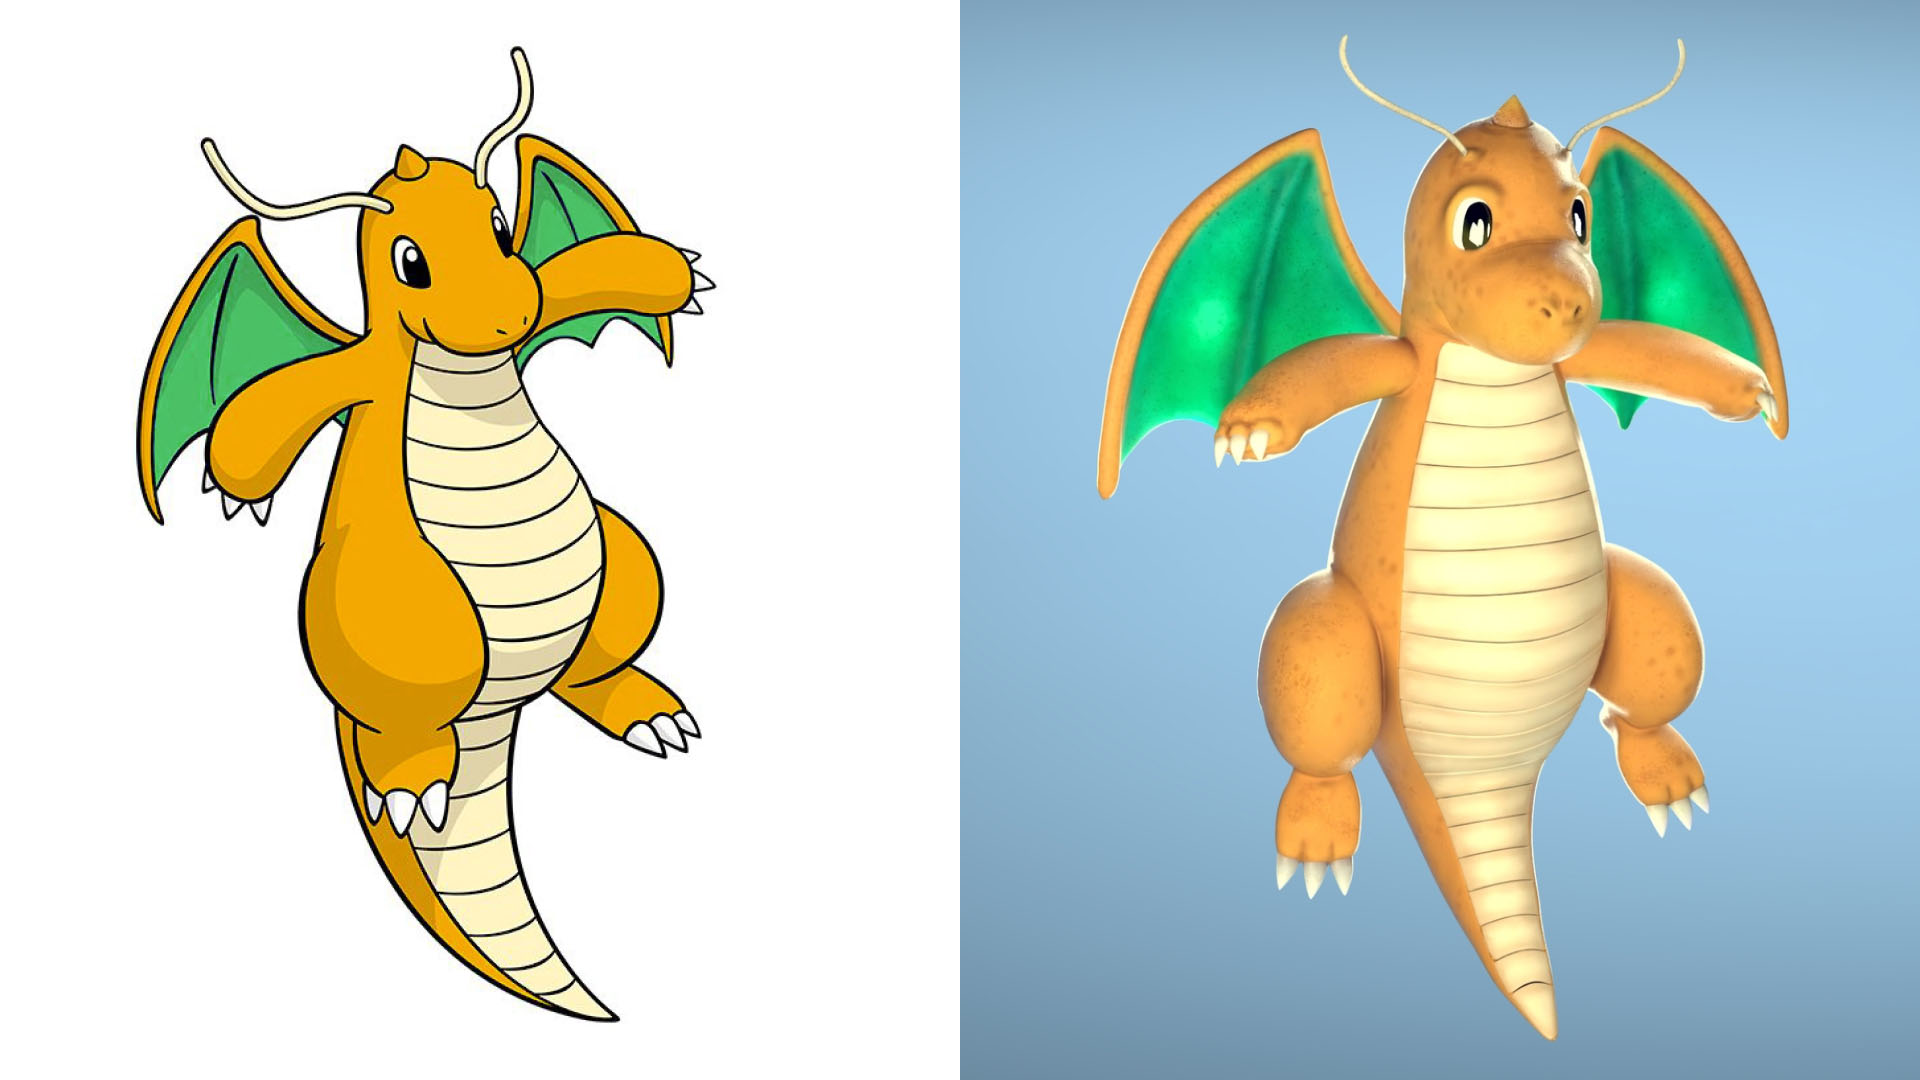
Dragonite is one of the most iconic characters in the Pokémon universe, and recreating it in 3D was the perfect challenge to follow a professional pipeline that combines art, technique, and cutting-edge tools. The goal of this project was to achieve a faithful version of the character while giving it a realistic finish that would enhance its on-screen presence.
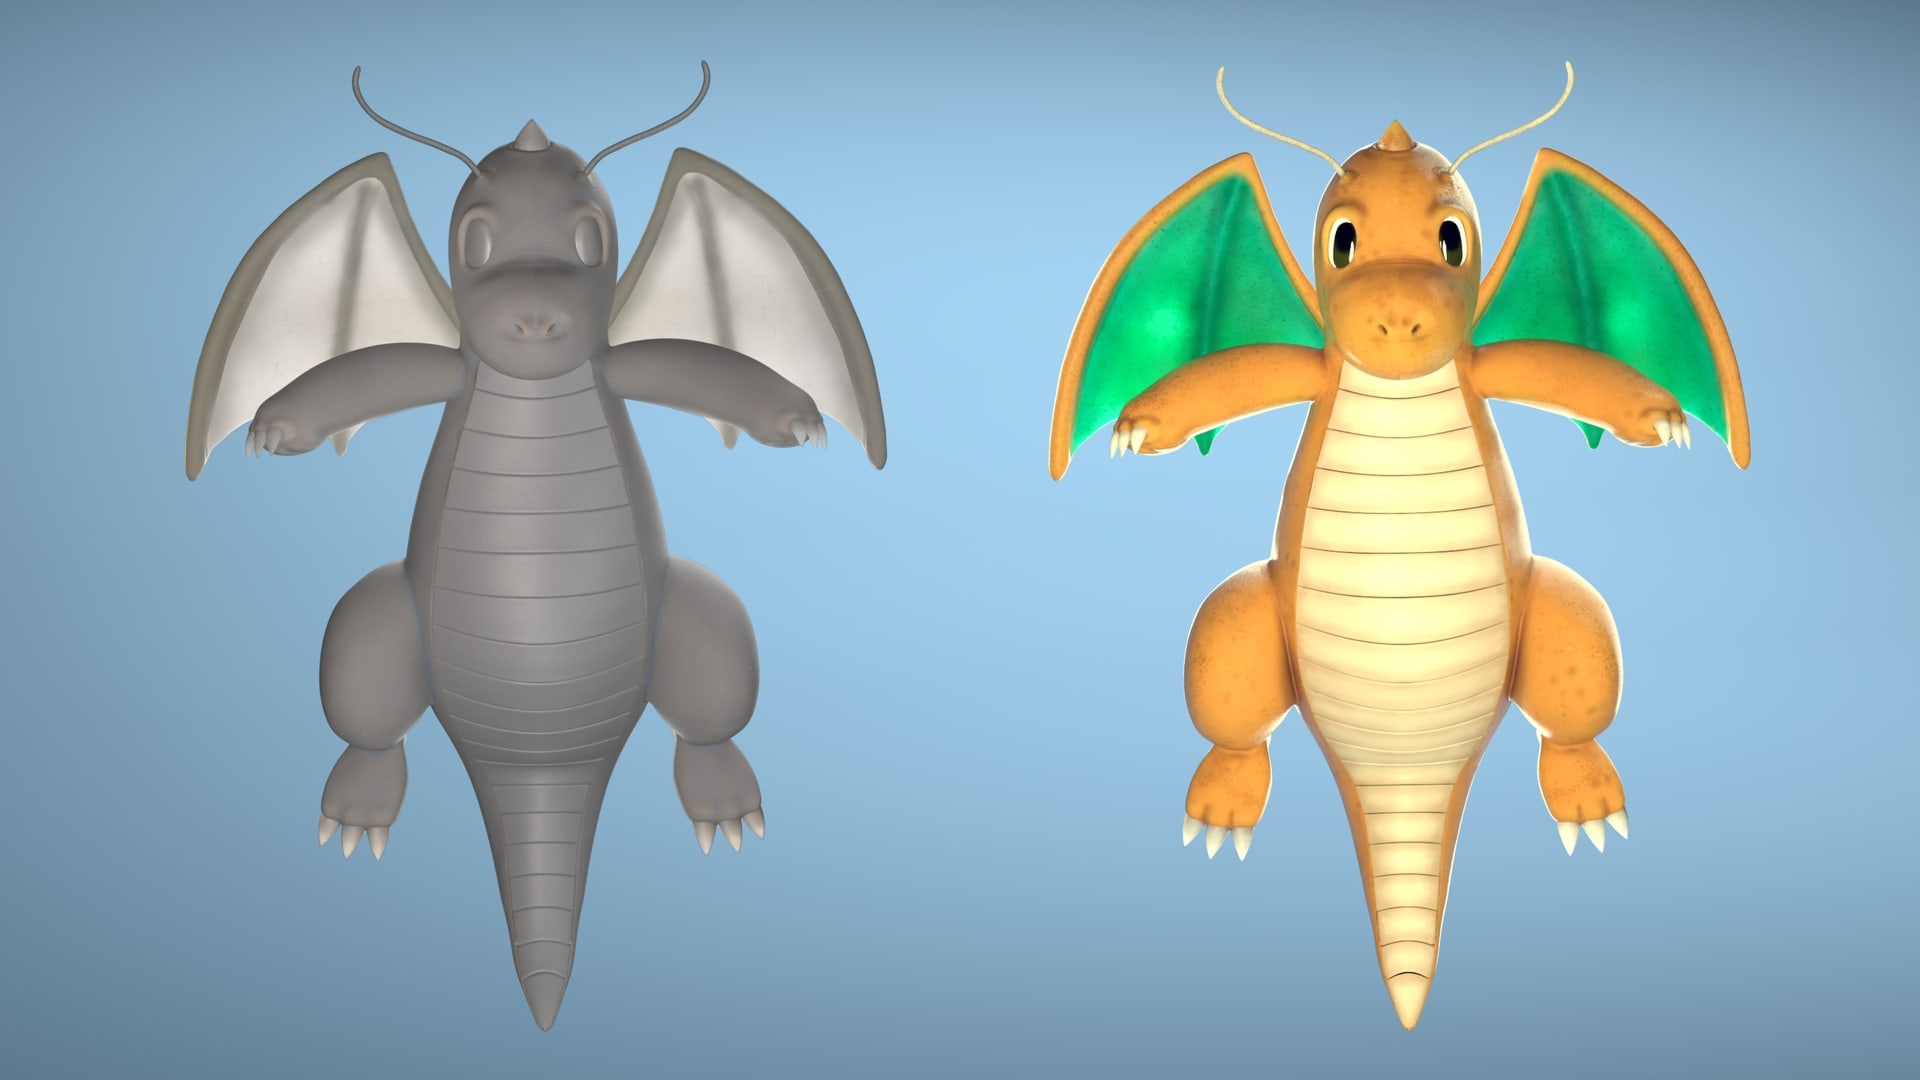
The starting point was the image generation of an initial sketch, created to accelerate the blueprint process rather than reinvent the design, since Dragonite is already a well-known and established character. The blueprint was then carefully refined to ensure accurate proportions and to provide useful views (front, side, and back), giving the digital sculpt a solid foundation. This stage focused on balancing the cartoonish essence of the original character with the pursuit of a more realistic style in terms of materials and volumes.

The character was sculpted from scratch in ZBrush, guided by the blueprint. The process focused on shaping soft, rounded forms and capturing the character’s organic proportions. The high-resolution model made it possible to include subtle details such as the smooth texture of the skin, the folds of the wings, and the nuances of the facial expression. The main challenge was to preserve Dragonite’s friendly essence while embracing the realism made possible by the high mesh density.
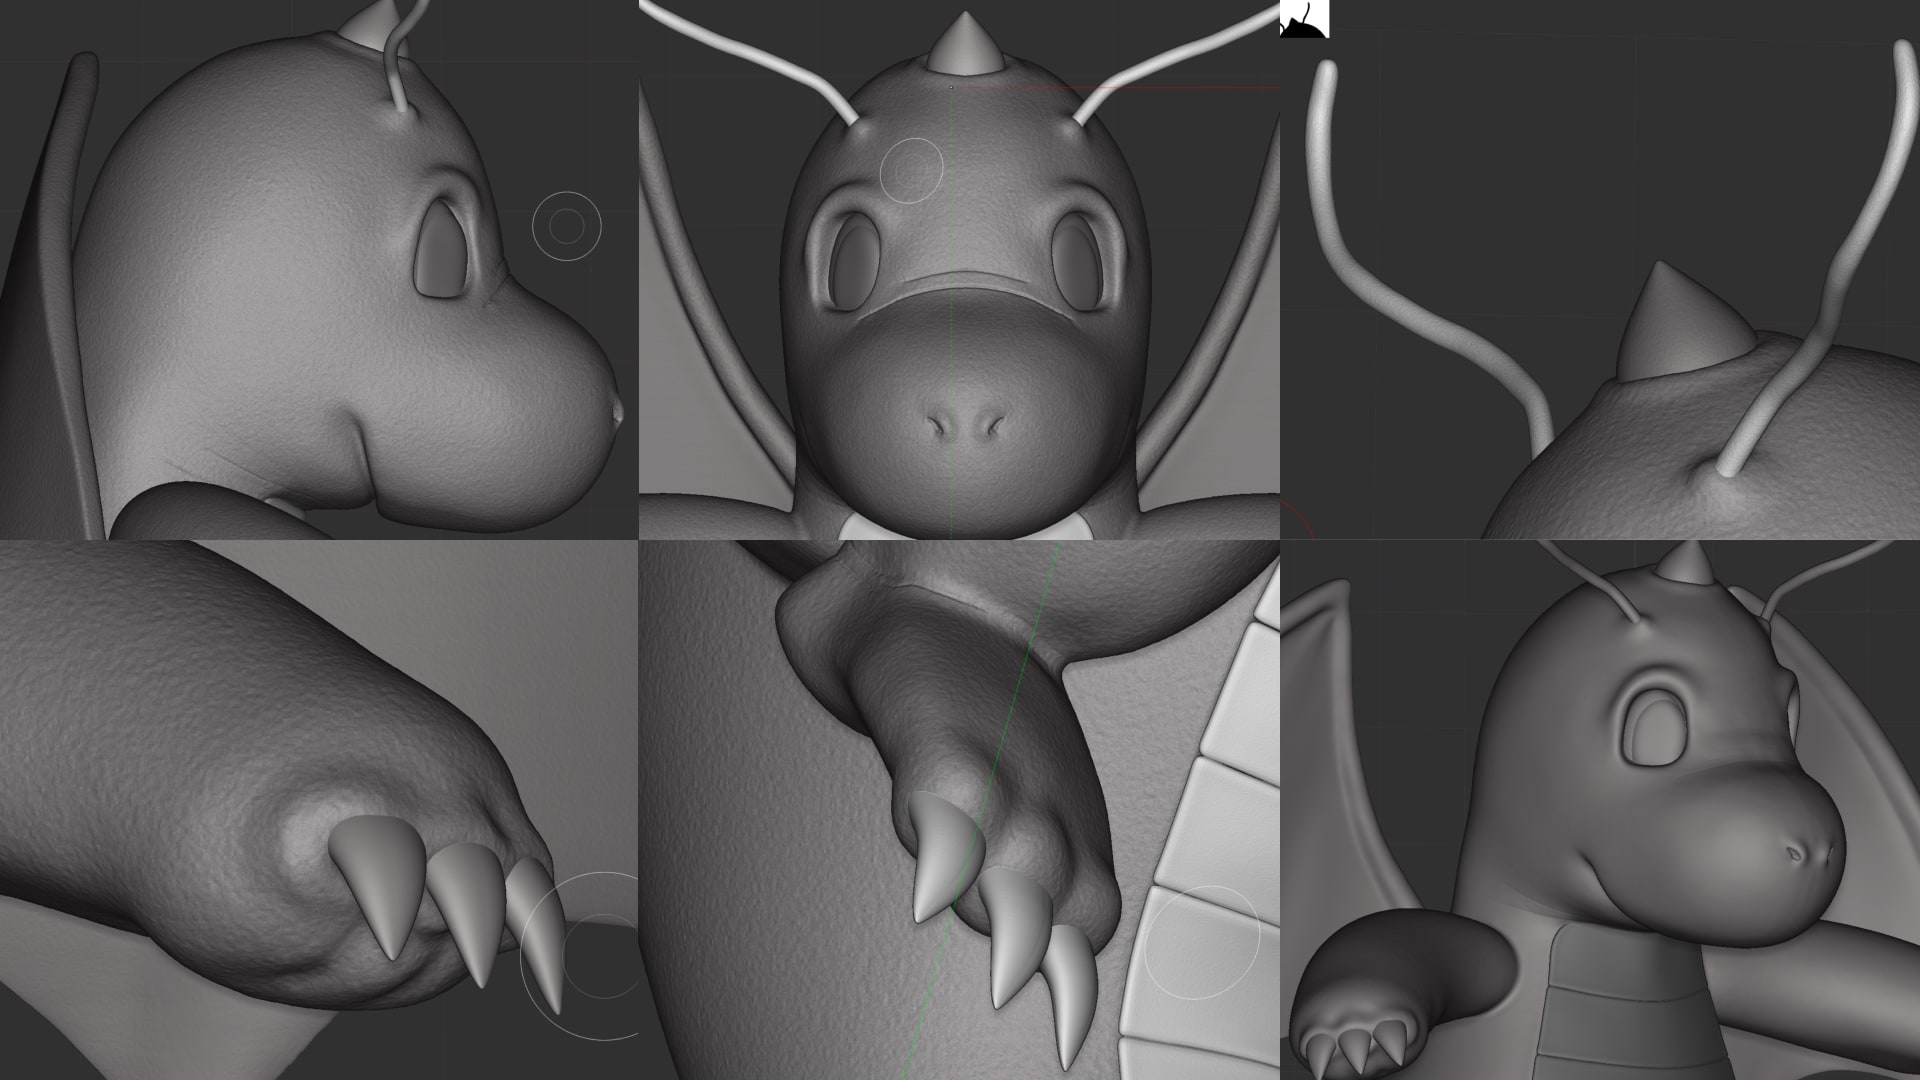
To ensure the model was efficient without losing detail, a complete retopology process was carried out. The initial sculpt reached 10.7 million polygons (high poly) vs. 18,460 polygons (low poly) — a reduction of more than 99% in polygon count. This contrast highlights the dramatic optimization achieved: from a dense, detail-heavy mesh to a lightweight and production-ready asset.

The process was carried out by segmenting the model into polygroups (color-coded regions that divide the mesh into manageable sections) making it easier to isolate and control specific areas during retopology. This setup allowed the use of ZRemesher to generate a high-quality topology. The approach not only preserved the volumes and details through direct projection from the high poly onto the low poly, but also facilitated the creation of clean and efficient UVs for the next stages of the pipeline.


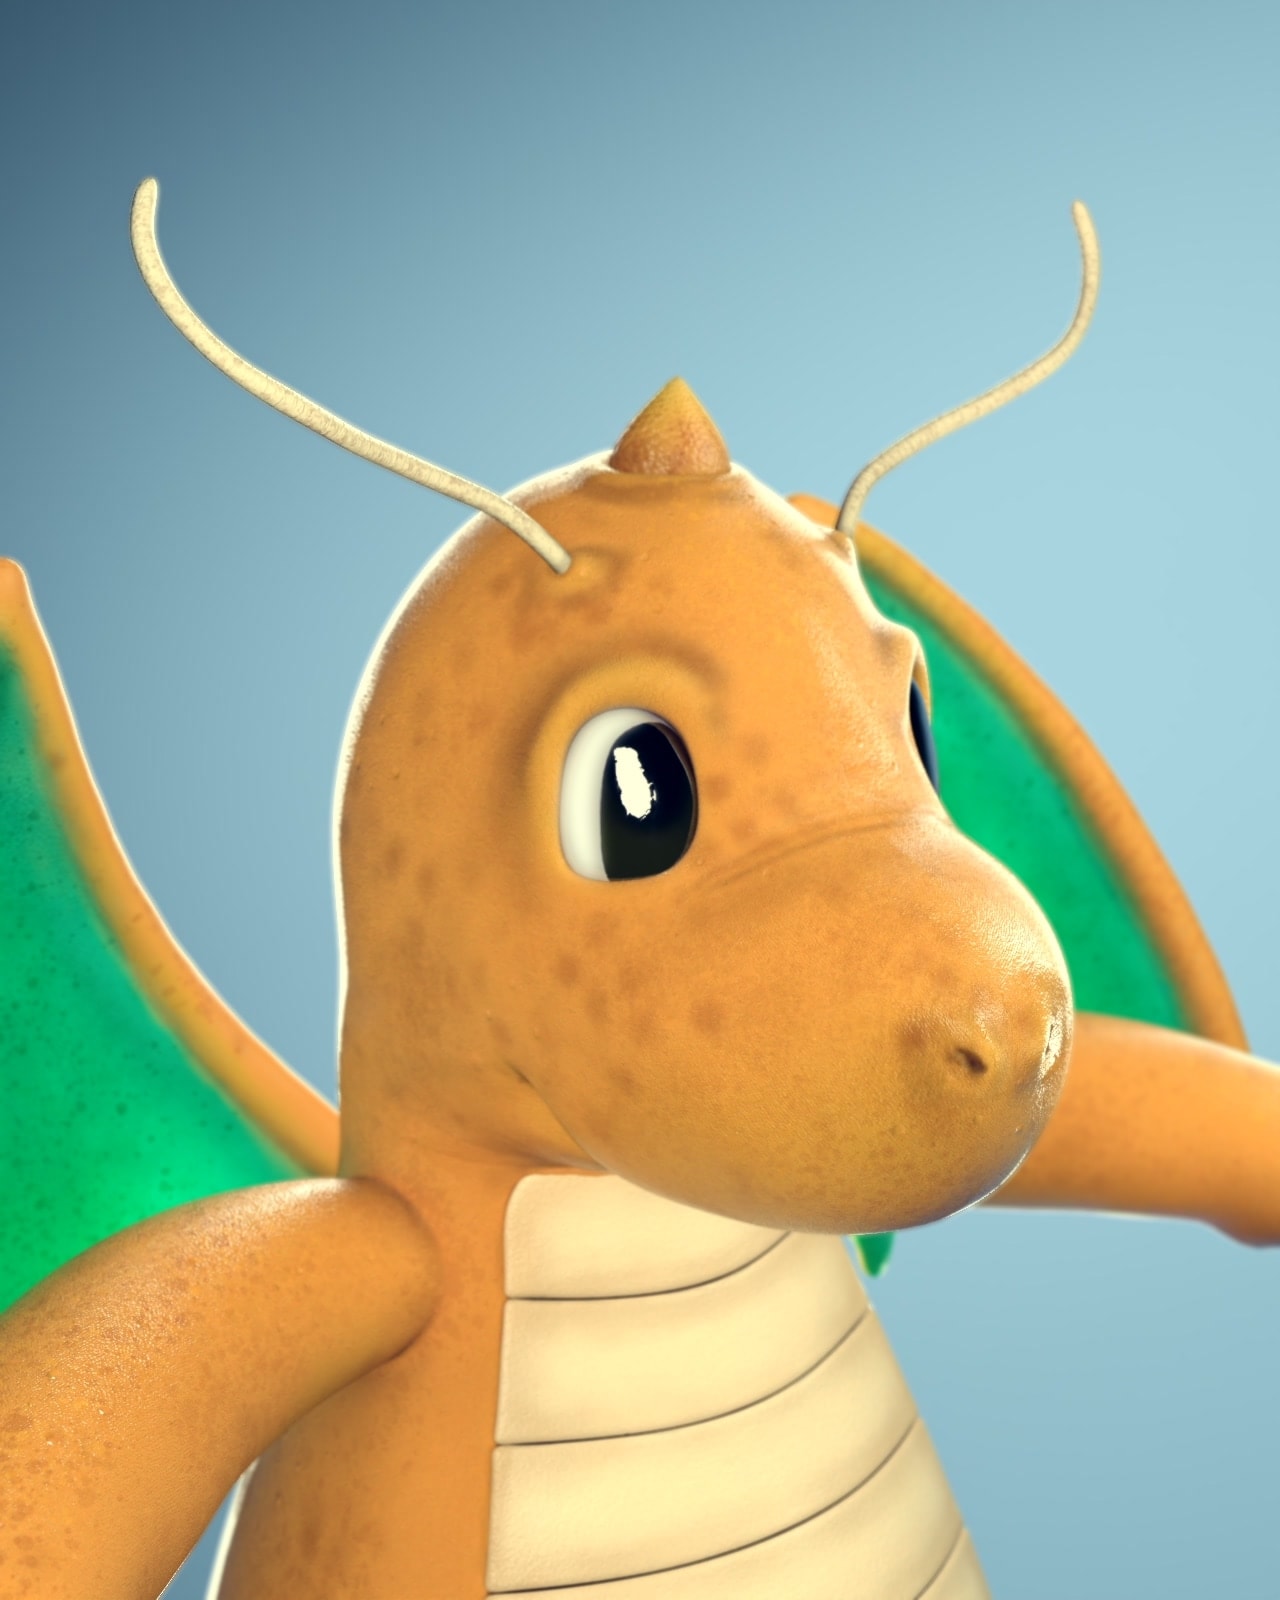
The texturing process was carried out in Substance Painter, starting with a palette inspired by Dragonite’s classic design. While staying true to the character’s original colors, additional nuances were introduced to bring out realism and material variety. Special attention was given to the footprint details on the soles of the feet, adding subtle wear and surface imperfections that give the impression of weight, contact, and interaction with the ground. Furthermore, detailed work was done on the skin, introducing freckles, spots, and subtle imperfections that enriched the surface and enhanced the creature’s organic feel. This combination of details helped reinforce the idea of Dragonite as a living, physical presence rather than just a stylized creature.

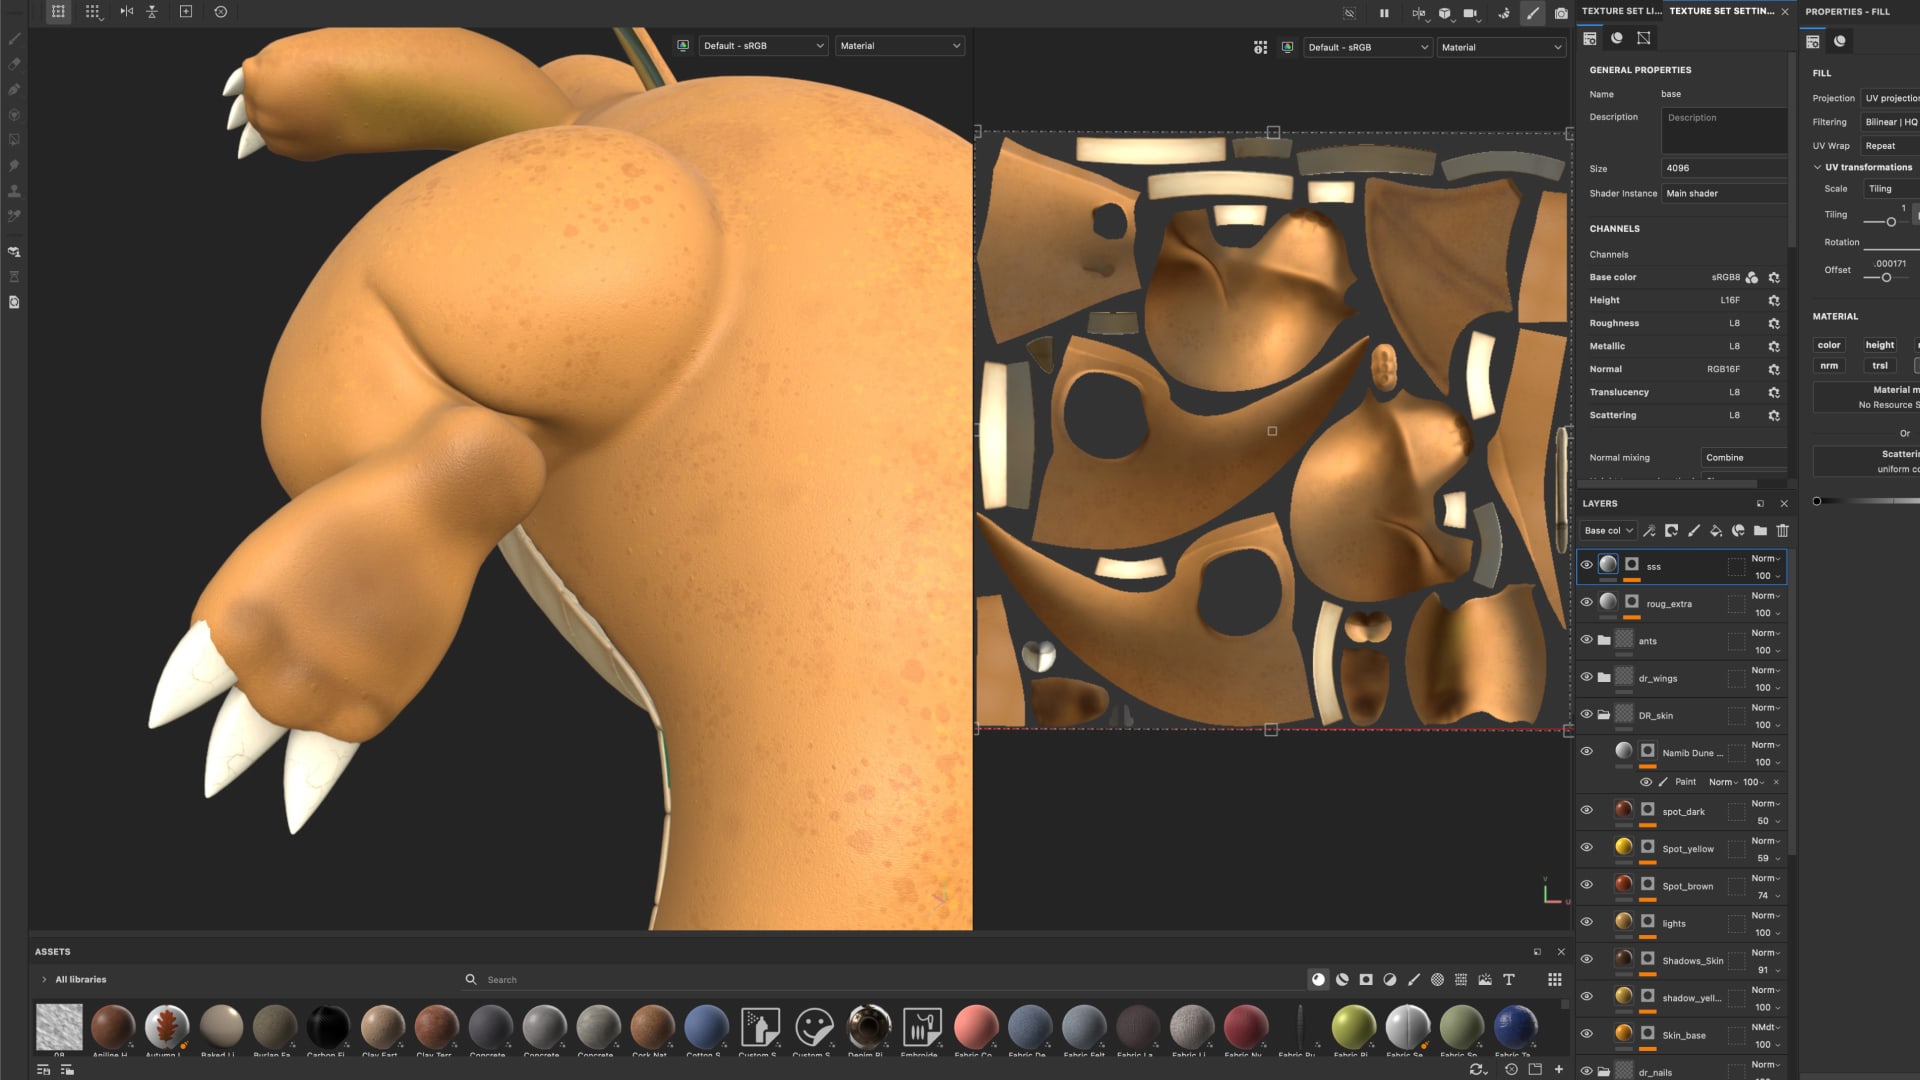
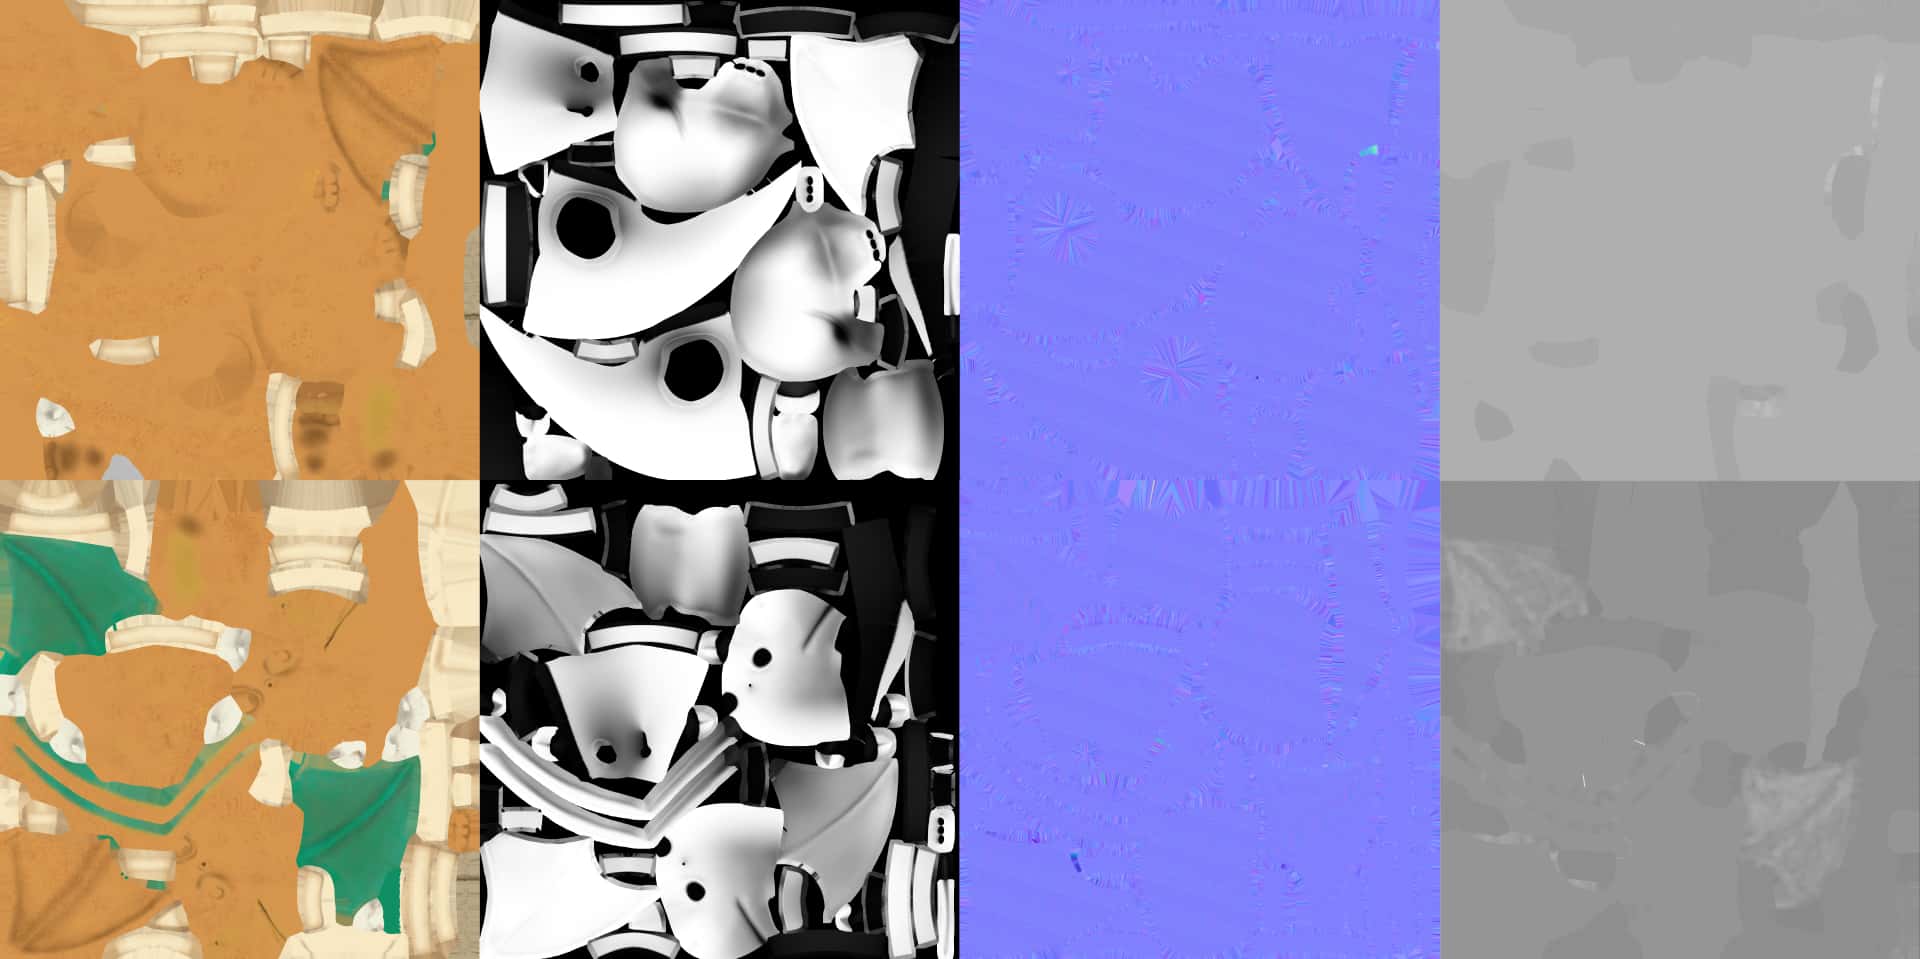
Beyond the base color, surface definition played a crucial role. Differences in roughness and micro-details were applied to distinguish between softer skin, rougher claws, and the thin membranes of the wings. A major focus was the subsurface scattering (SSS) in the wings. By fine-tuning translucency, the membranes reacted naturally when hit by light, creating a soft glow effect that greatly enhanced the believability of the model. This scattering became one of the most important technical and artistic highlights of the project.
With the textures and surfaces defined, the model was taken into Blender for lighting and rendering. This stage was developed in parallel with surfacing, allowing for continuous adjustments between materials and light to achieve the most convincing visual result. A classic three-point lighting setup was used, complemented with soft ambient lights to reinforce volumes and convey Dragonite’s warm personality. The final renders were produced using the Cycles render engine, which made it possible to fully take advantage of scattering effects, realistic shadows, and physically accurate light behavior.

The Fusion workspace in DaVinci Resolve was employed for advanced compositing, providing precise control over color separation, selective enhancements, and the integration of subtle atmospheric effects that strengthened the cohesion and impact of the final presentation. Additionally, ZDepth map information was leveraged to simulate realistic camera depth of field, enhancing the sense of scale and spatial immersion in the final image.
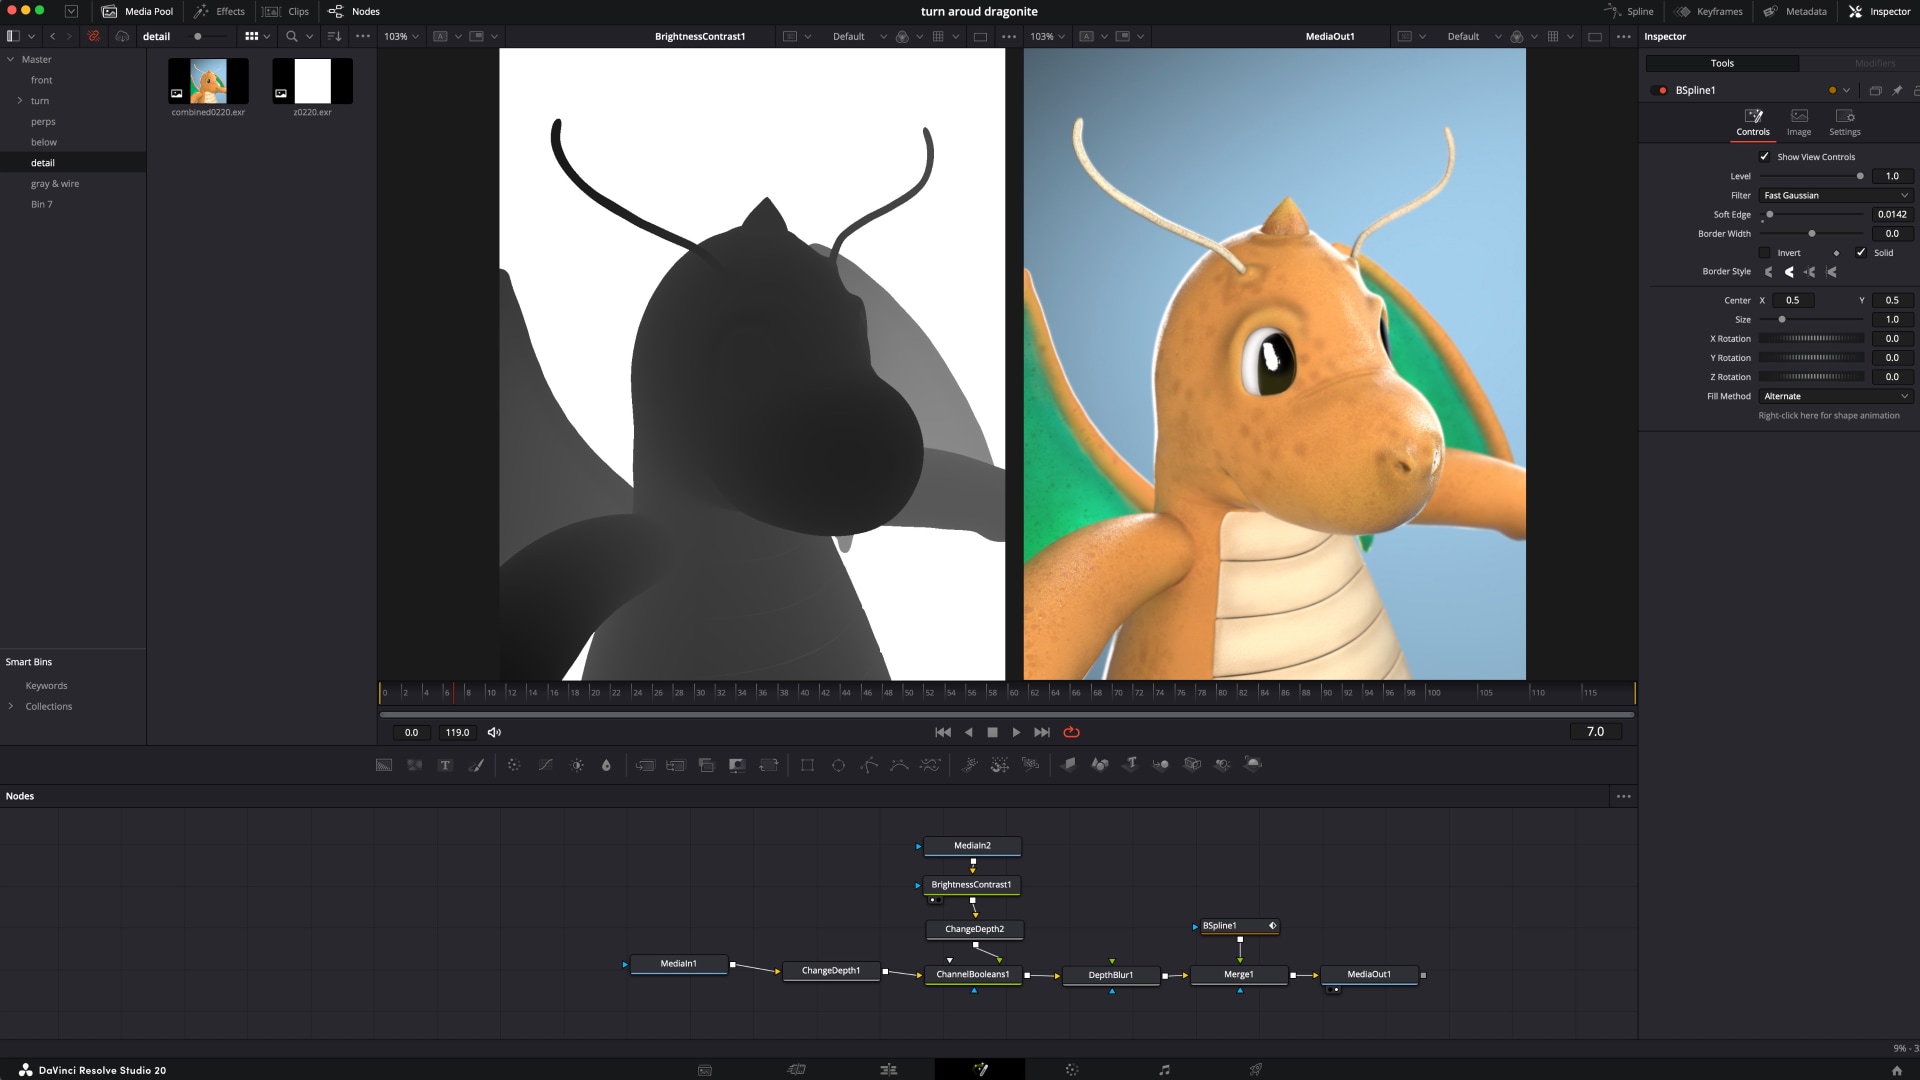
The post-production stage focused on adjusting exposure, contrast, and saturation, enhancing the warm tones of the body and the translucency of the wings. A subtle film look was applied to bring cohesion to the image and give it a cinematic finish, further highlighting the character’s charm.

The result is a 3D Dragonite that balances fidelity to the original design with a realistic finish. The combination of scattering in the wings, detailed materials, and a carefully lit final render allows the character to be appreciated in all its strength and tenderness. High fidelity renders were exported from different angles, along with an animated turnaround to showcase the model in detail.


This project was an opportunity to explore how the integration of different tools can elevate the quality of the final result:
This case study demonstrates how an end-to-end workflow can transform a classic character into a fresh, technically solid, and emotionally engaging visual experience.